HMD specializes on renovation projects that honor the home's character while adding a modern interpretation.
Explore The Blog
Home Rennovations
Do-It-Yourself
Home Styling
Favorite Things
Case Studies
How to Hang Bedside Pendant Lights
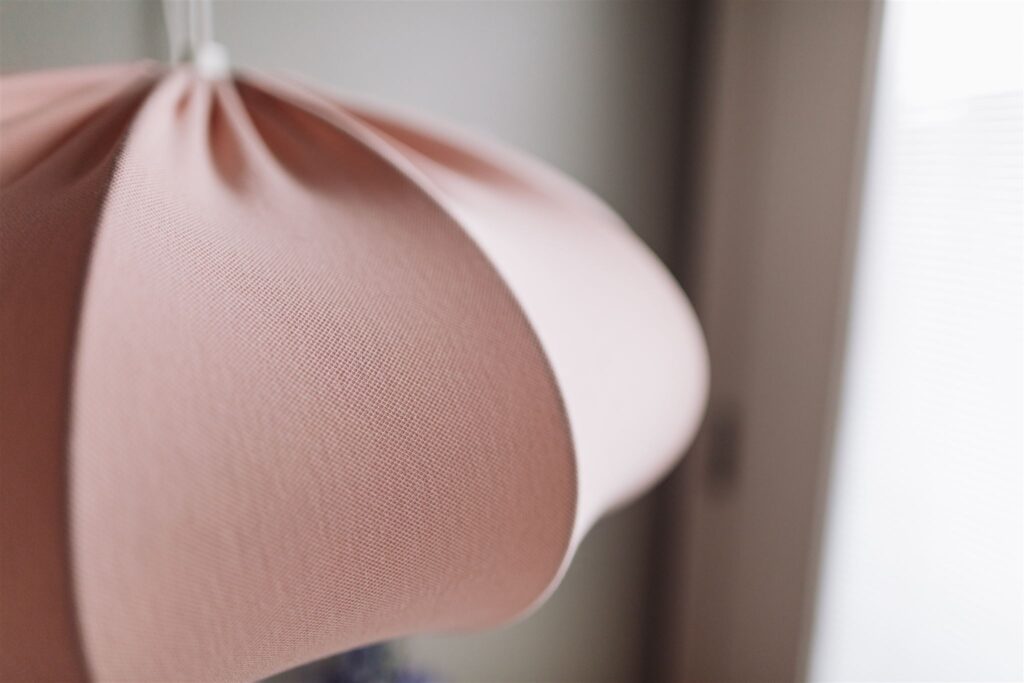
Every bedside needs a light source but not all light sources give equal design flare. When designing a bedroom, I typically pick a table lamp that is oversized or a modern sconce that creates balance around the bed. But when I have a client that is comfortable with more bold design choices, I love the idea of pendant lights over a bedside table.

So how do you achieve this designed look? There are two routes and each have their own functional differences. The first route is a plug-in pendant light with a switch. The second option includes hiring an electrician to install pendants into the ceiling through a new electrical box. Both give the same look but with the first option you will have to deal with an extra cord coming down the wall. Despite the cords, for this project we used the plug-in pendant due to the cost effectiveness!
On top of having a lower price tag, a plug-in bedside pendant light is also less permanent. So if down the road you want to convert back to a lamp, it’s relatively easy to change it out. The switch on the pendant plug-in light also functions in the same way as a lamp in that you can reach over to turn the light on and off. If you install an actual pendant light in the ceiling, then you also need to consider the location of the light switch so that it’s accessible from laying in bed. If you want to try the plug in route, keep reading for steps and product links!
For the plug in pendant lights, all that is needed is a pendant shade, hooks for the ceiling, and a cord set with a switch that plugs in. Make sure you measure the distance from your electrical plug up to the ceiling and back down to the height you want the pendant to hang. You also want the ceiling hook to be low profile and in a similar color to your ceiling paint. IKEA is a great location to find both a cord set and affordable light shades.

The installation steps include adding your shade to the cord set and centering the light on your nightstand through holding the fixture up. Make sure to add the shade to the light before marking the locations for your hooks as you will need to factor the distance of the shade from the wall. You also want the middle of the pendant to hang at eye level or slightly higher.
Once you have positioned the light, add a hook in the ceiling right where the wall and the ceiling meet and then add a second hook perpendicular away from the wall. This will ensure that the light will hang at an appropriate distance from the wall (we took the light about 12″ away from the wall). The pendant light over your nightstand should have the height of 24″-28″ from the nightstand surface. This allows some space for decor on the nightstand and is a good height for lighting if you read in bed.
The reason two hooks are used is so that the cord runs up the wall and doesn’t hang at an angle. In order to make the pendant look sharp, you can tack the wire to the wall with Zots. Do NOT nail or staple through the wire or it will kill the light.
On the second pendant, just make sure you use the same measurements so the lights look even from all directions!
I love how in this room the first thing you notice are the light fixtures. They really took this space to the next design level. They’re eclectic and playful which describes this fun client I had in Dallas!
Sincerely,
HMD
This quarterly newsletter is our avenue to share home items we’re loving, tips and tricks we utilize to elevate our designs and the latest client homes we’re curating